 Skip to main content

Both lightweight web applications and complex enterprise software rely on application programming interfaces (APIs), entrusting them with data exchange. However, if an API has bugs or includes some business logic errors, it can significantly compromise the efficiency of your entire product. This is why it’s crucial to apply relevant testing and quality assurance (QA) practices to make sure your API works efficiently.
In this article, we share our experience testing an API that’s part of complex cybersecurity software. We show how to test a web API and describe each step of the testing process in detail while discussing different approaches, tools, and practices for manual and automated API testing.
Contents:
- What is API testing and why do you need it?
- Practical example of web API testing for a cybersecurity solution
- Step 1. Analyze requirements
- Step 2. Create technical documentation
- Step 3. Create test documentation
- Step 4. Prepare test data and the test environment
- Step 5. Conduct manual testing
- Step 6. Conduct performance testing
- Step 7. Create automated tests
- Conclusion
What is API testing and why do you need it?
API testing is a type of software testing that checks how APIs work both on their own and as part of software. The goal is to determine if tested APIs meet their functionality, reliability, performance, and security requirements. Continuous testing of the API layer is essential since it contains the software’s business logic — the rules for user interactions with services, data, and functions.
While the choice of particular QA practices depends on the project specifics, a common API testing procedure usually includes:
- Sending requests to the API
- Validating the system’s responses against expected responses, including checking data accuracy and data formats, HTTPS status codes, and error codes
You can apply some of the following testing types when checking your API’s work:
- Functional testing to check how an API works and whether it does exactly what it’s supposed to do
- Security testing to check an API against security requirements and check the work of authentication, permissions, and access controls
- Performance testing to determine an API’s responsiveness and stability under a particular workload
- Negative testing to check how an API responds to unexpected data input from users
- Load testing to see how an API handles excessive calls
- Documentation testing to check whether API documentation guides users easily and contain clear and non-contradictory information
API testing is a crucial part of every software development process, since it focuses attention on testing business logic, data responses, security, and performance bottlenecks. Major benefits of conducting API testing are:
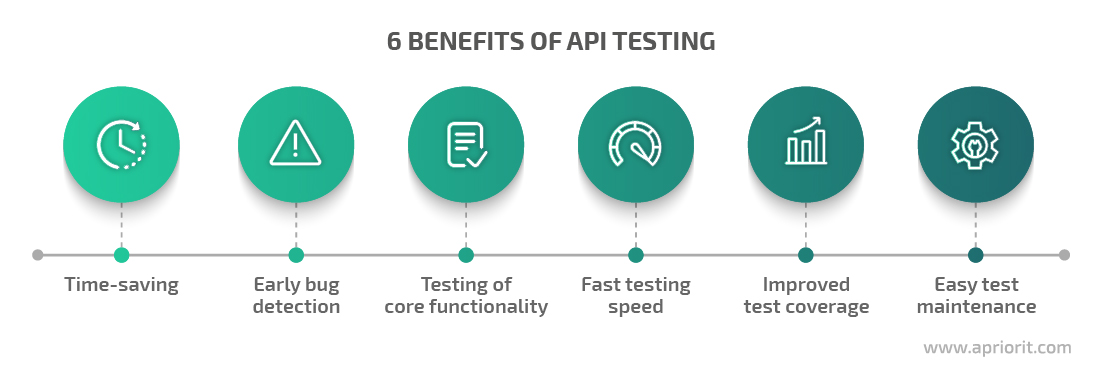
- Time savings. Your team can start working on API tests without needing to wait for developers to finish a certain part of their work. By the time developers prepare API functionality, test cases for it can be ready.
- Early bug detection. QA specialists can test API functionality without needing to wait for user interface (UI) development. Thus, they can get early insight into errors and bugs and instantly notify developers about them.
- Testing of core functionality. Since API testing focuses on code-level functionality, it enables QAs to detect small errors that can later become larger API security issues during graphical user interface (GUI) testing.
- Fast testing speed. During API testing, you can run about 100 tests per minute. Thanks to such impressive speed, you can efficiently cover the most critical functionality with tests and detect bugs fast.
- Improved test coverage. The majority of API tests can be automated, covering a large number of test cases including functional, non-functional, positive, and negative. Such an approach provides good coverage.
- Easy test maintenance. API tests are usually stable because significant changes only occur when business logic is changed. Thus, a team rarely has to rewrite test cases. Also, QAs can reuse API tests during testing activities, reducing the overall work time.
Now, let’s move to a practical example. In the next section, we share our experience testing an API for a cybersecurity project and explore our seven-step testing process in detail.
Practical example of web API testing for a cybersecurity solution
At Apriorit, we often use a seven-step web API testing strategy. This approach was designed and continuously improved based on our experience with dozens of projects.
The basis for this testing algorithm was built during our work on a cybersecurity project that we’ve been successfully maintaining for the last 10 years. Let’s explore a practical example of web API testing for complex software that monitors client systems, gathers artifacts, and analyzes them.
Currently, the main components of this software are desktop applications located on different machines. They include:
- An agent installed on client machines
- A proxy server that gathers data from agents
- A server with the application database
- A web API
- An application for data configuration and analysis
At some point, our customer decided to upgrade their application from a desktop app to a web app. When migrating application functionality to the web API, we added new features in several iterations. With each new iteration, we improved our testing methods. Finally, we established an optimal seven-step algorithm for testing web API features:
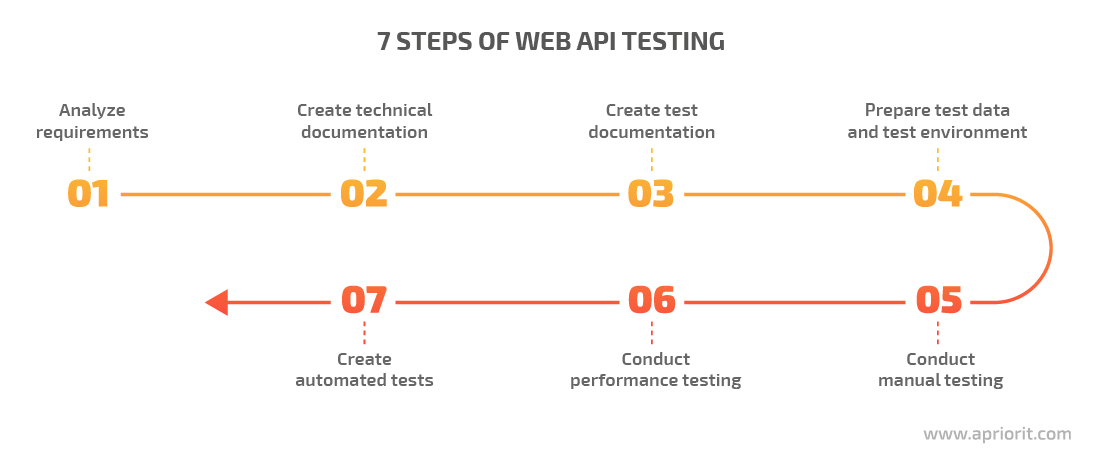
Let’s start our web API testing tutorial and explore each step in detail.
Step 1. Analyze requirements
Before rushing into development, we need to analyze the customer’s requirements and evaluate how requested changes will impact the project. This helps us find potential bottlenecks in the early development phase, come up with possible solutions, and discuss the adjusted plan with the customer.
For example, when our cybersecurity project was headlong into development, the customer requested we develop a new feature that supports the API.
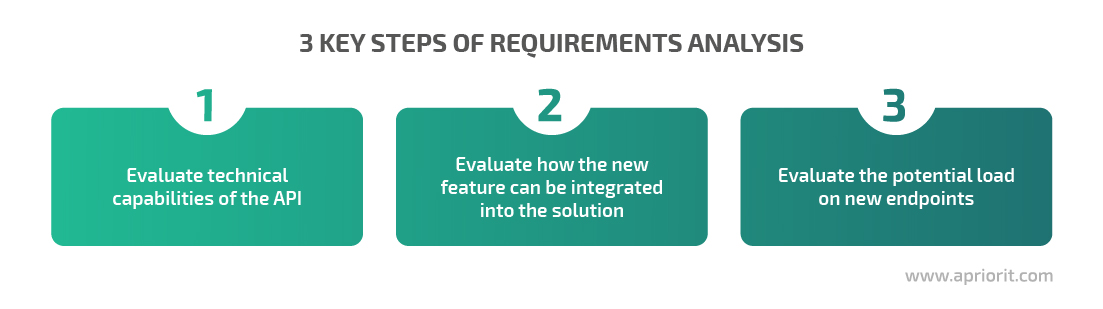
First, we evaluated the API’s technical capabilities. This API had some limitations, since we started project development 10 years ago and didn’t make the API suitable for such an architecture back then.
Then, we evaluated how the requested new feature could be integrated into the existing solution and how it would interact with other software components.
Another crucial step was evaluating the potential load on new endpoints. Due to the project’s specifics, our API is used by a limited number of users. However, different endpoints experience different loads, since some are used frequently and others rarely. Developers used the results of this endpoint load analysis later when designing suitable architecture changes.
Once the requirements analysis is finished and high-level requirements are agreed upon with the customer, we can work on a detailed endpoint description, which basically means writing our API’s technical documentation.
Step 2. Create technical documentation
Technical documentation is a must for every project. It describes all project details and helps both developers and QAs be on the same page about the product’s functionality.
During this stage, we describe input and output data, response codes, and error texts for each endpoint. We also define which endpoint fields are mandatory, which are optional, and what the default values are if an optional parameter isn’t specified.
In our project, we created the API deployment description using Swagger. This tool allows us to save lots of time, since basic documentation is automatically generated based on OpenAPI code. Once the API deployment description is automatically generated, we only need to add destinations for fields and default values for the detailed documentation to be ready. Considering that documentation is generated based on the code, changes in code will lead to changes in the documentation. This means that the latest API implementation and its description will always align.
Another benefit of Swagger is that it has its own GUI. This significantly simplifies work at the initial testing stages. To check basic test cases, QA specialists don’t need to use any specific tools for testing the web API — a browser is enough. Also, the GUI simplifies work for a technical writer when creating documentation for end users.
Once API technical documentation is ready, QA engineers and developers start working separately: developers work on implementing the new feature in the API and QAs prepare test documentation, the test environment, and test data. Let’s take a closer look at the QA’s work.
Read also:
Automotive Security Testing 101: Requirements, Best Practices, Tips on Overcoming Challenges
Step 3. Create test documentation
During this stage, we work on test documentation and write test cases. Later, we use this information to create automated tests. This approach helps us accomplish several tasks:
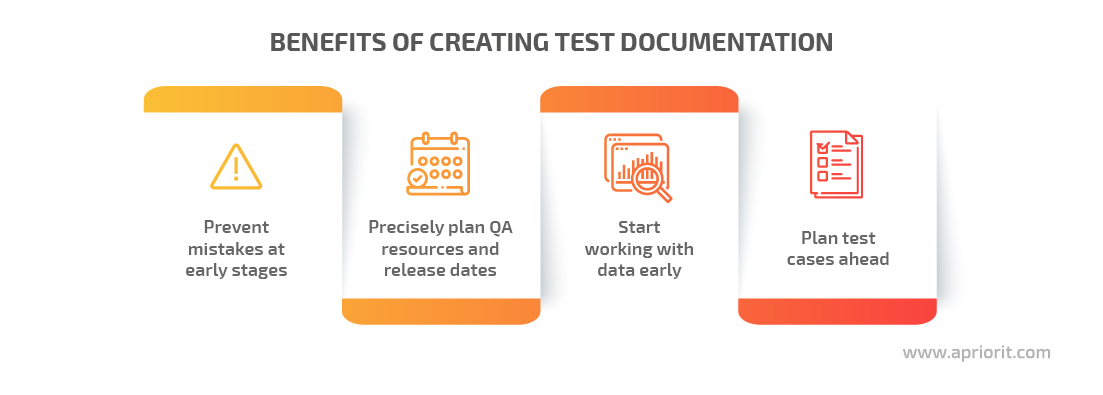
- Prevent mistakes at early stages. We form a checklist for development testing long before new functionality is ready to get tested. Discussing this list with developers before feature implementation ensures we have the same understanding of feature performance and the business logic behind those features.
- Plan test cases ahead. When working with test documentation, we create a checklist that we later use for the first manual testing iteration.
- Precisely plan QA resources and release dates. Having a list of automated tests, we know how to estimate testing time, deadlines, and resources needed for automation testing easier and more efficiently.
- Start working with data early. Having finalized lists of tests for automation allows us to start preparing test data early. The same data can be used for development testing and the first iterations of manual testing.
Once test documentation is ready, we move on to its review. One team member creates tests, and another team member (or several team members) checks the overall test coverage, looks for contradictions in tests, and analyzes test contents. This process helps us significantly improve the quality of final tests. It’s also important to think ahead of what software performance testing metrics to choose.
Step 4. Prepare test data and the test environment
Before moving to testing activities, we need to prepare virtual machines and data.
In our product, the API actively interacts with agents. Using the API, we can receive various data about the agent system, file system, register, and random access memory (RAM). Thus, for quality API testing, it’s necessary to pay attention to the test data and test environment.
Part of the data only depends on agents’ machines, while another part depends on the application’s deployment infrastructure. Some specific test data can be used multiple times during the first cycle of manual testing and further test automation.
Step 5. Conduct manual testing
If all development stages are planned correctly, by the time developers finish implementing new components in the API, QAs should have everything ready for the first testing cycle: test documentation, the test environment, and test data.
First, we check high-priority cases, then medium-priority ones, and after that we work with low-priority cases. Together with high-priority cases, we also check negative cases, since they can lead to severe issues. For example, invalid handling of an incorrect data format can lead to an application’s crashing or to database corruption.
For manual testing, our team uses the Postman tool, which provides lots of benefits including:
- An intuitive GUI.
- The opportunity to generate snippets from the GUI. Thus, if we detect an issue, we can easily generate a cURL request and send it to developers for reproducing the bug.
- Environments, which are variables grouped in a set. For instance, an environment can consist of an agent’s identifier, a server’s address, and an authorization key. By changing the values of these variables, we can easily switch between environments.
Once we finish checking high-priority and negative cases and make sure that a new feature works correctly, part of the team moves to performance testing and the other part checks the rest of the test cases with medium and low priorities.
Step 6. Conduct performance testing
Performance testing and load testing help evaluate the overall performance of the tested API under specific circumstances. The methods here depend on the peculiarities of your project.
Usually, the main scenario for API load testing is emulating a large number of simultaneous requests. But since our API isn’t publicly available, such checks would be excessive due to the specifics of our product, as only one component can work with our API at a time.
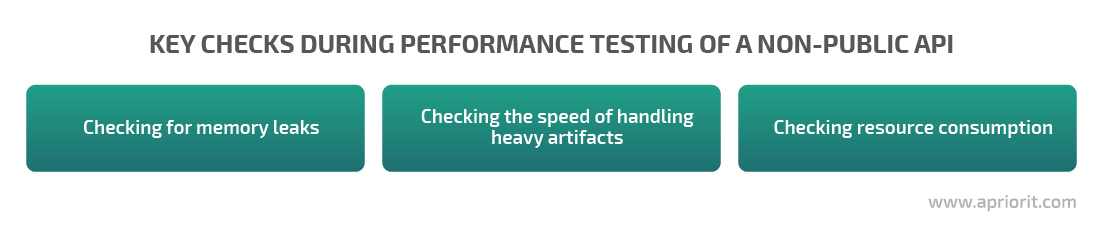
So instead, we performed the following checks:
- Checking for memory leaks by periodically performing the same request. For example, an agent status request can be executed thousands of times, so we have to make sure the server won’t have any memory leaks.
- Checking the speed of handling large artifacts like heavy files, RAM images, and disks. Here, we need to make sure that changes introduced to our API don’t negatively affect its performance.
- Checking resource consumption when working with large artifacts. During these checks, we pay attention to how much CPU, RAM, and disk space our API consumes when processing large arrays of data. We also check how many resources will be consumed by an agent that interacts with our API.
You can use best automation tools for testing API performance depending on your project. In this case, we used Apache JMeter for performance testing. However, for simpler projects, even a simple bash script calling cURL requests may be enough.
Step 7. Create automated tests
Creating automated API tests can be a very time-consuming process. But since these tests are stable, easy to support, and rarely show false responses, the time spent on test creation proves a worthy investment.
For functional automated testing of our API, we also use Apache JMeter. This tool is a great fit for our project, since its flexible configuration allows us to interact with heavy artifacts, consuming minimum resources of the machine that runs automated tests.
When creating automated tests, we use artifacts from the previous testing stages:
- Checklists with priorities
- Test environments
- Test data
We cover each field of each endpoint with tests, including all positive and negative cases. We end up with lots of tests, and therefore, we need to keep their naming and grouping well-structured. If everything is organized, reviewing and supporting tests won’t take too much time.
For automated tests, we also have a review process that is a bit different from the one for test documentation. When reviewing automated tests, we check their:
- Structure
- Readability
- Correspondence to the checks they were created for
The review process helps us increase the quality of automated tests and spend less time on their support.
Once automated tests are created and reviewed, they become our main API testing method. We run these tests to check tickets without any additional manual testing. Thanks to the stability of automated tests, the test environment, and test data, in the end, we receive a high-quality product.
The main criteria that shows us that we’re using the right approach is the fact that we almost never receive tickets related to the API from end users. And even when we do, none of these tickets are related to critical or high-priority bugs.
Also, check out our another article where we discuss key features of the Places API Autocomplete service.
Conclusion
In this article, we showed an effective way to automate API testing. We explored an API testing workflow that allows us to ensure the flawless quality of APIs in our projects. Using prepared test documentation, several review processes, and a mixture of manual and automated API testing, we manage to receive stable and high-quality solutions.
At Apriorit, we have dedicated teams of professional API developers and quality assurance engineers who are ready to help you improve your product’s security and efficiency. Contact us to start discussing your dream project right now.
Have a question?
Ask our expert!
VP of Engineering


